
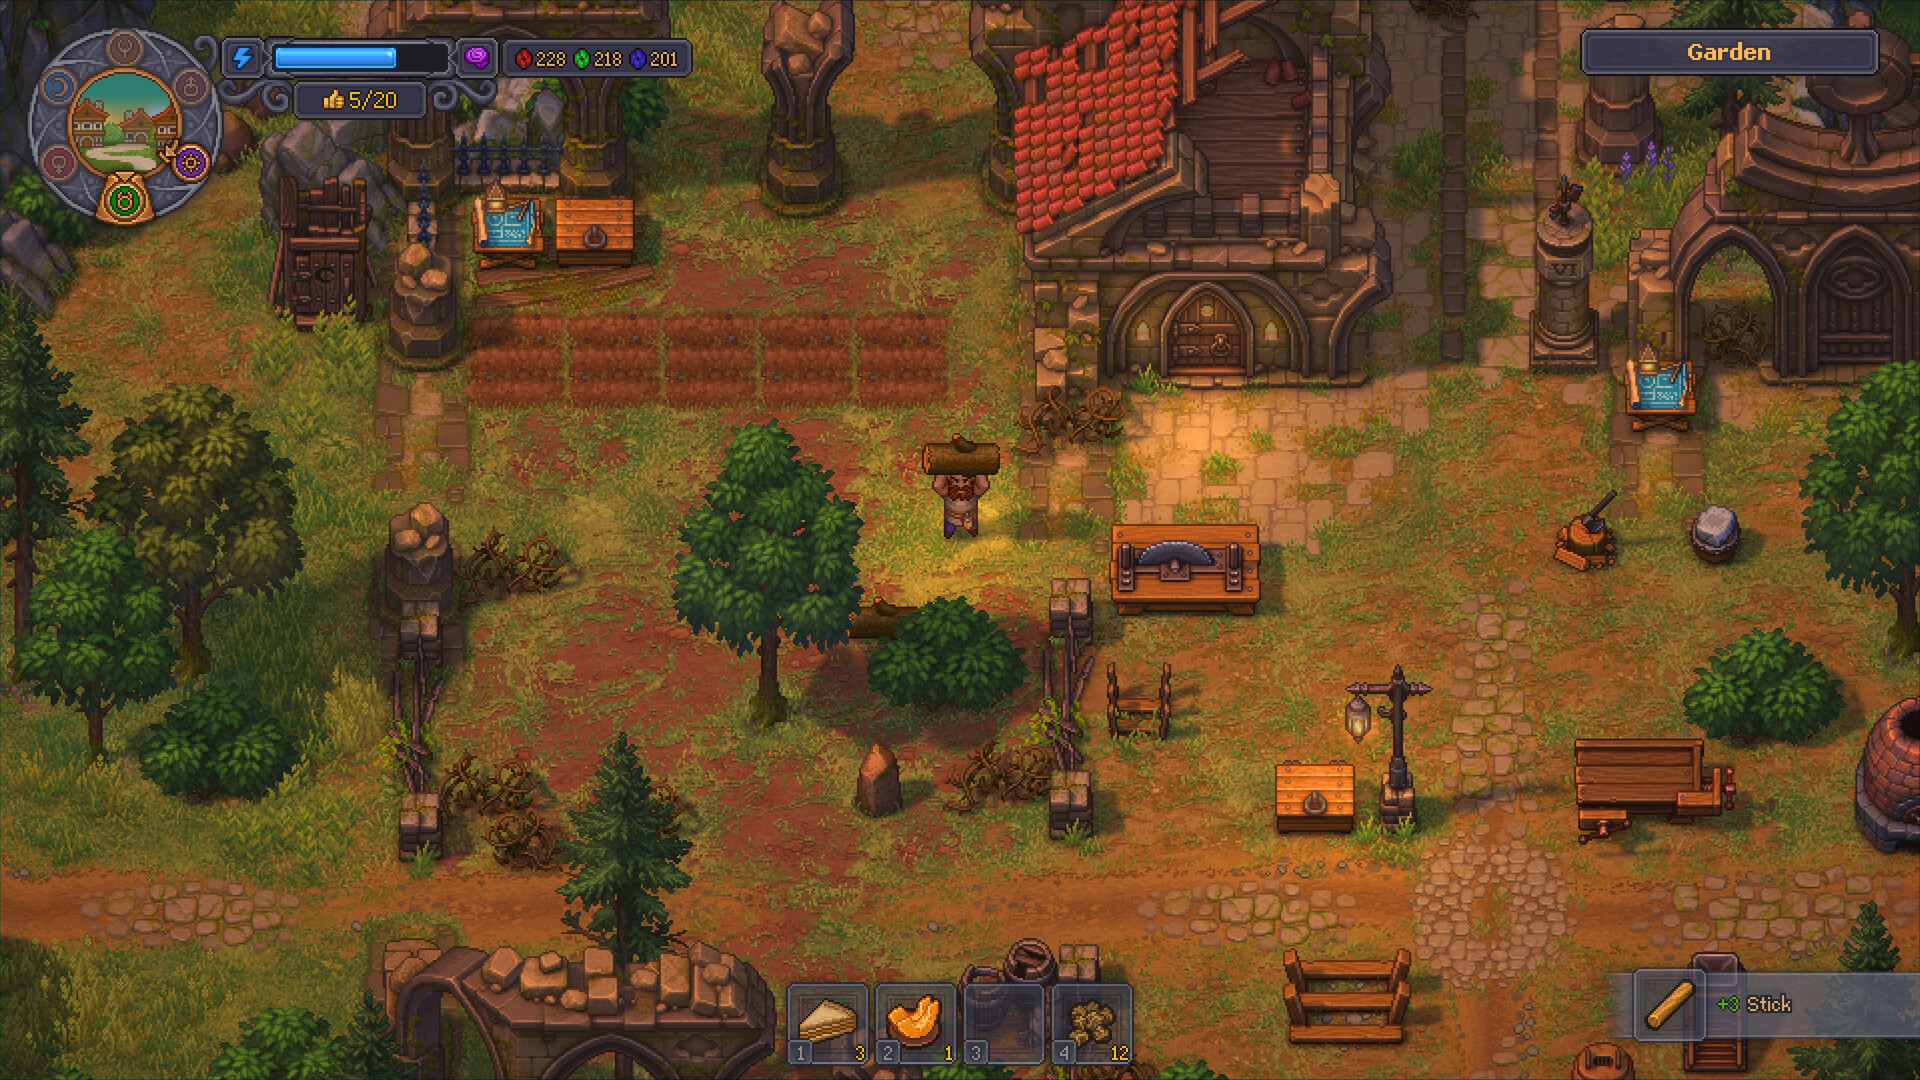
Player-reported evidence: reproduce these steps on your platform and demo build. They are not publisher promises or universal results.
DIRECT ANSWER
Treat energy as a route budget: carry or gather available food, group work by location, recover before a distant objective, and use sleep/rest when needed. Player demonstrations show berries and a compact early lumber/crafting loop, but no universal best food or exact value is verified.
Evidence state
Player reportedConfirmed now
- Energy is visible and consumed during demo work.
- Player footage shows edible gathering, work batching, and sleep/rest in the opening loop.
- Exact recovery values are not official.
Launch check
- Every food value and effect.
- Sleep/rest timing and any interaction with Insanity.
- Tool, perk, mastery, and automation effects on energy.
FIELD DECISION / 01
Steps to follow
- Start with a recovery marginBefore leaving the base area, confirm you can eat or return to rest without spending the last energy on travel.
- Batch by areaCombine gathering, cutting, crafting, and delivery steps that share a route instead of crossing the map for one item.
- Use food for interruption preventionEat when it keeps a planned chain moving, but compare tooltips and do not claim a best food from one run.
- Sleep before a risky chainPlayer footage shows sleep as part of saving and recovery; check the visible bar and status before and after.
WHY THIS WORKS
Why this route is reliable
Reducing travel and context switching lowers energy spent without requiring an unverified item tier list. A visible before/after check keeps recovery claims tied to the demo.
IF IT DOES NOT WORK
Failure states and fixes
| Symptom | Check | Next move |
|---|---|---|
| Energy reaches zero far from recovery. | Review route length, food margin, and optional tasks. | Shorten the next loop and recover before the distant objective. |
| A food recommendation does not match the tooltip. | Compare build and item description. | Use the current in-game value and report the discrepancy rather than preserving an old ranking. |
LEDGER NOTE / 02
Early demo loop
One player walkthrough demonstrates nearby berries, yard clearing, woodworking stations, graveyard repairs, and sleep as a compact opening rhythm. The route is evidence of one workable pattern, not a universal optimum.
LEDGER NOTE / 03
Energy versus Insanity
The two systems may create overlapping fatigue symptoms in player reports. Check both visible states before assuming that food alone fixes a slowdown or that sleep has one universal effect.